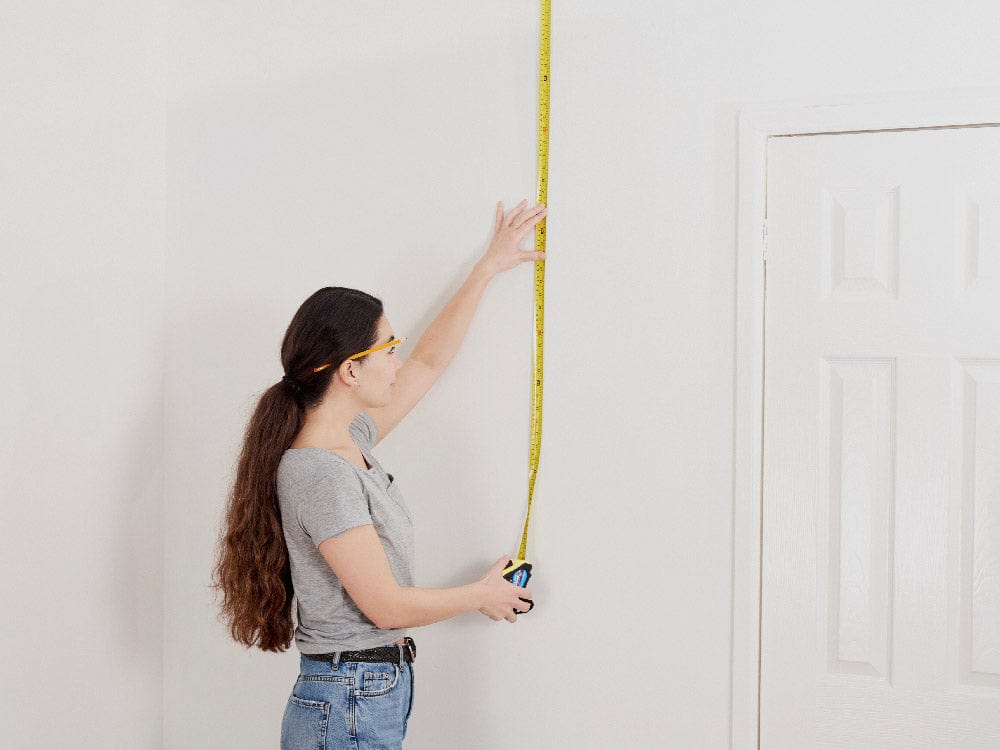
Step 1.
Measure the wall.
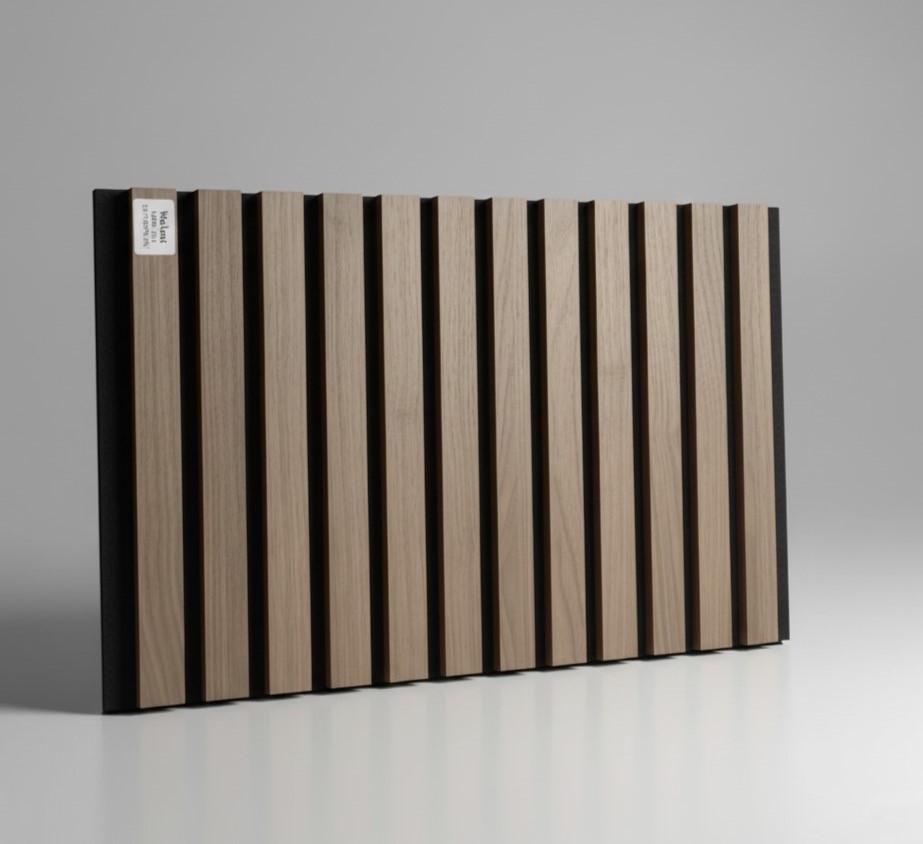
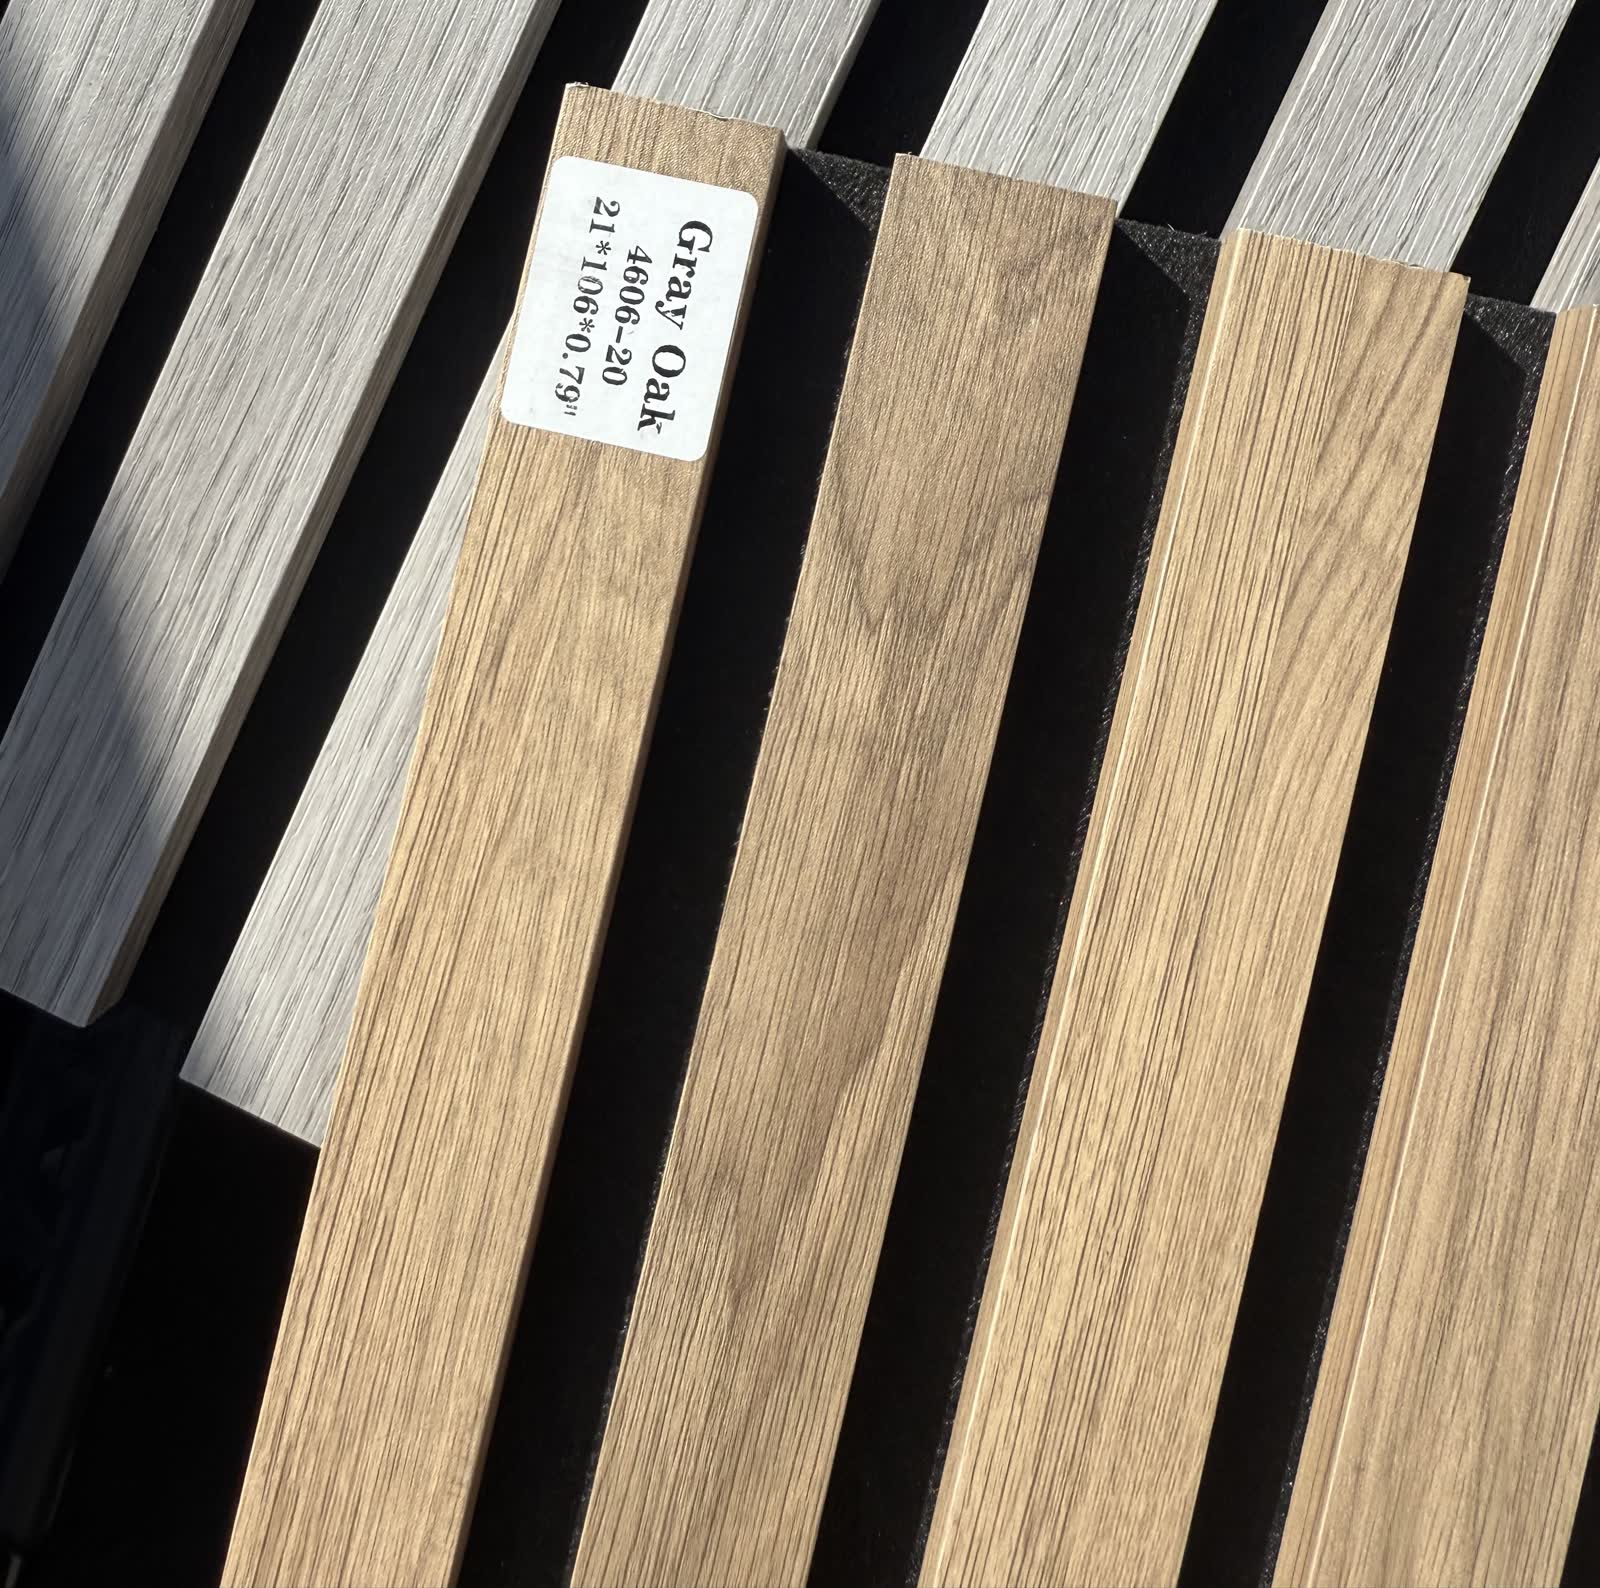
The SD Wall Panels range is designed to be installed with ease.
Install panels with the correct fixings through the felt, or mount over timber battens when you need higher sound control.
Step 1.
Measure the wall.
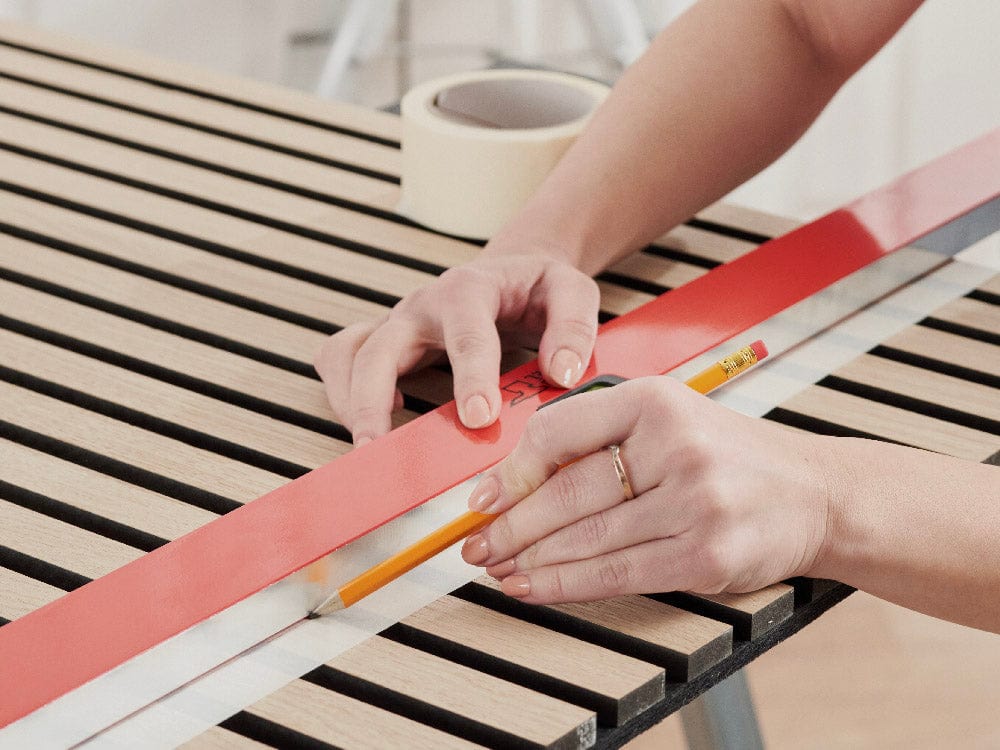
Step 2.
Mark the cutting lines on the panel with a pencil and tape.
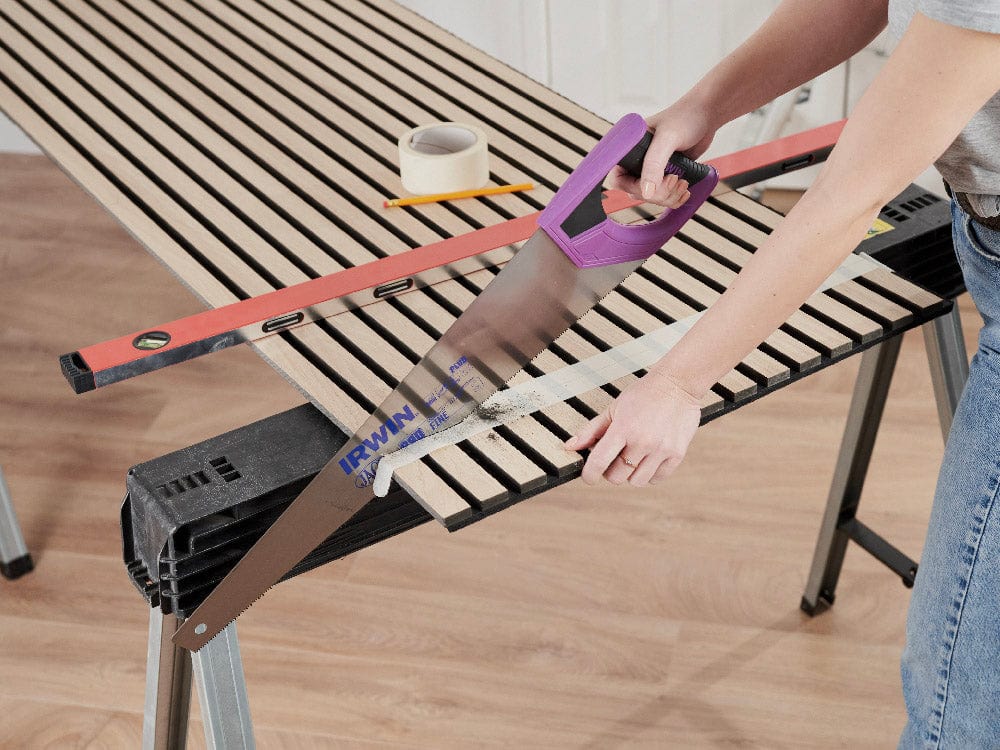
Step 3.
Use a fine tooth saw to cut the panel along the marked line.
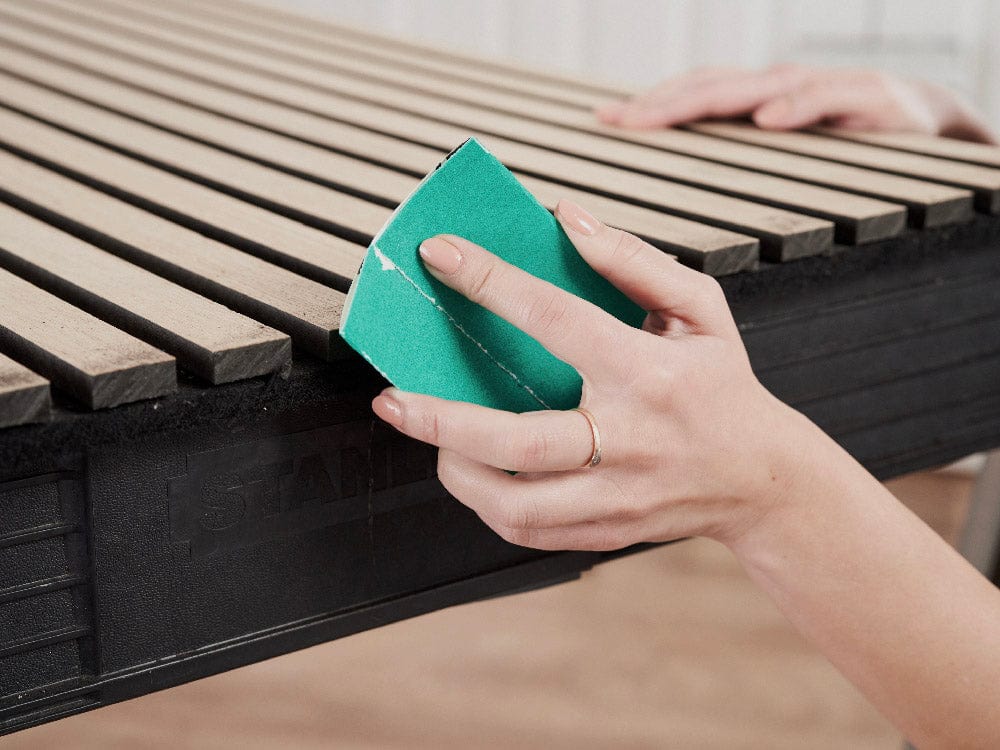
Step 4.
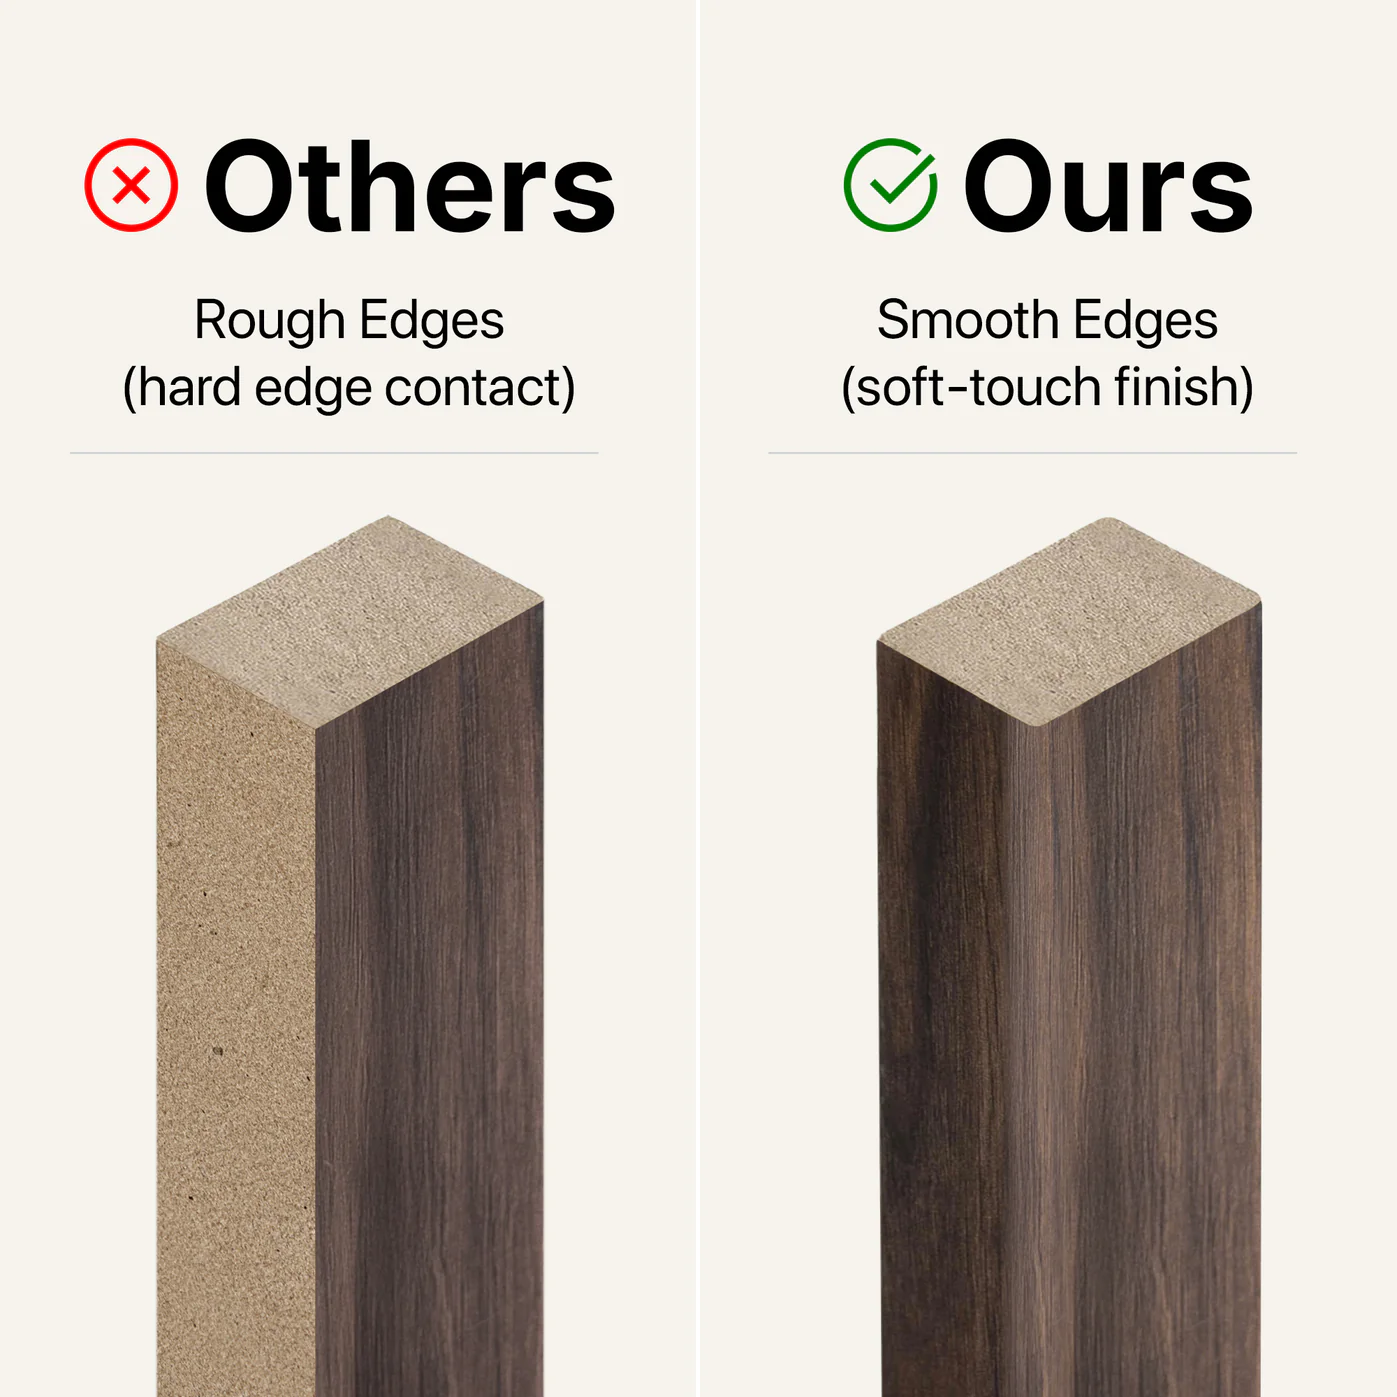
Sand the cut edges of the panel until smooth.

Step 5.
Attach the panel to the wall. Hold the panel in place on the wall.
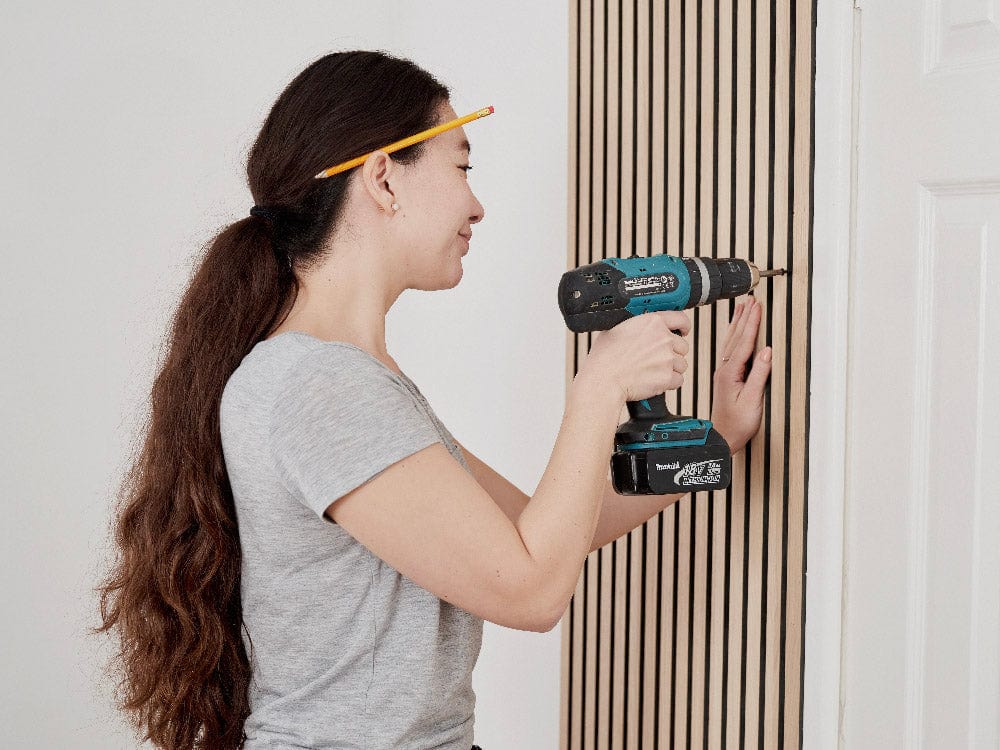
Step 6.
Drill holes through the black felt into the wall.

Step 7.
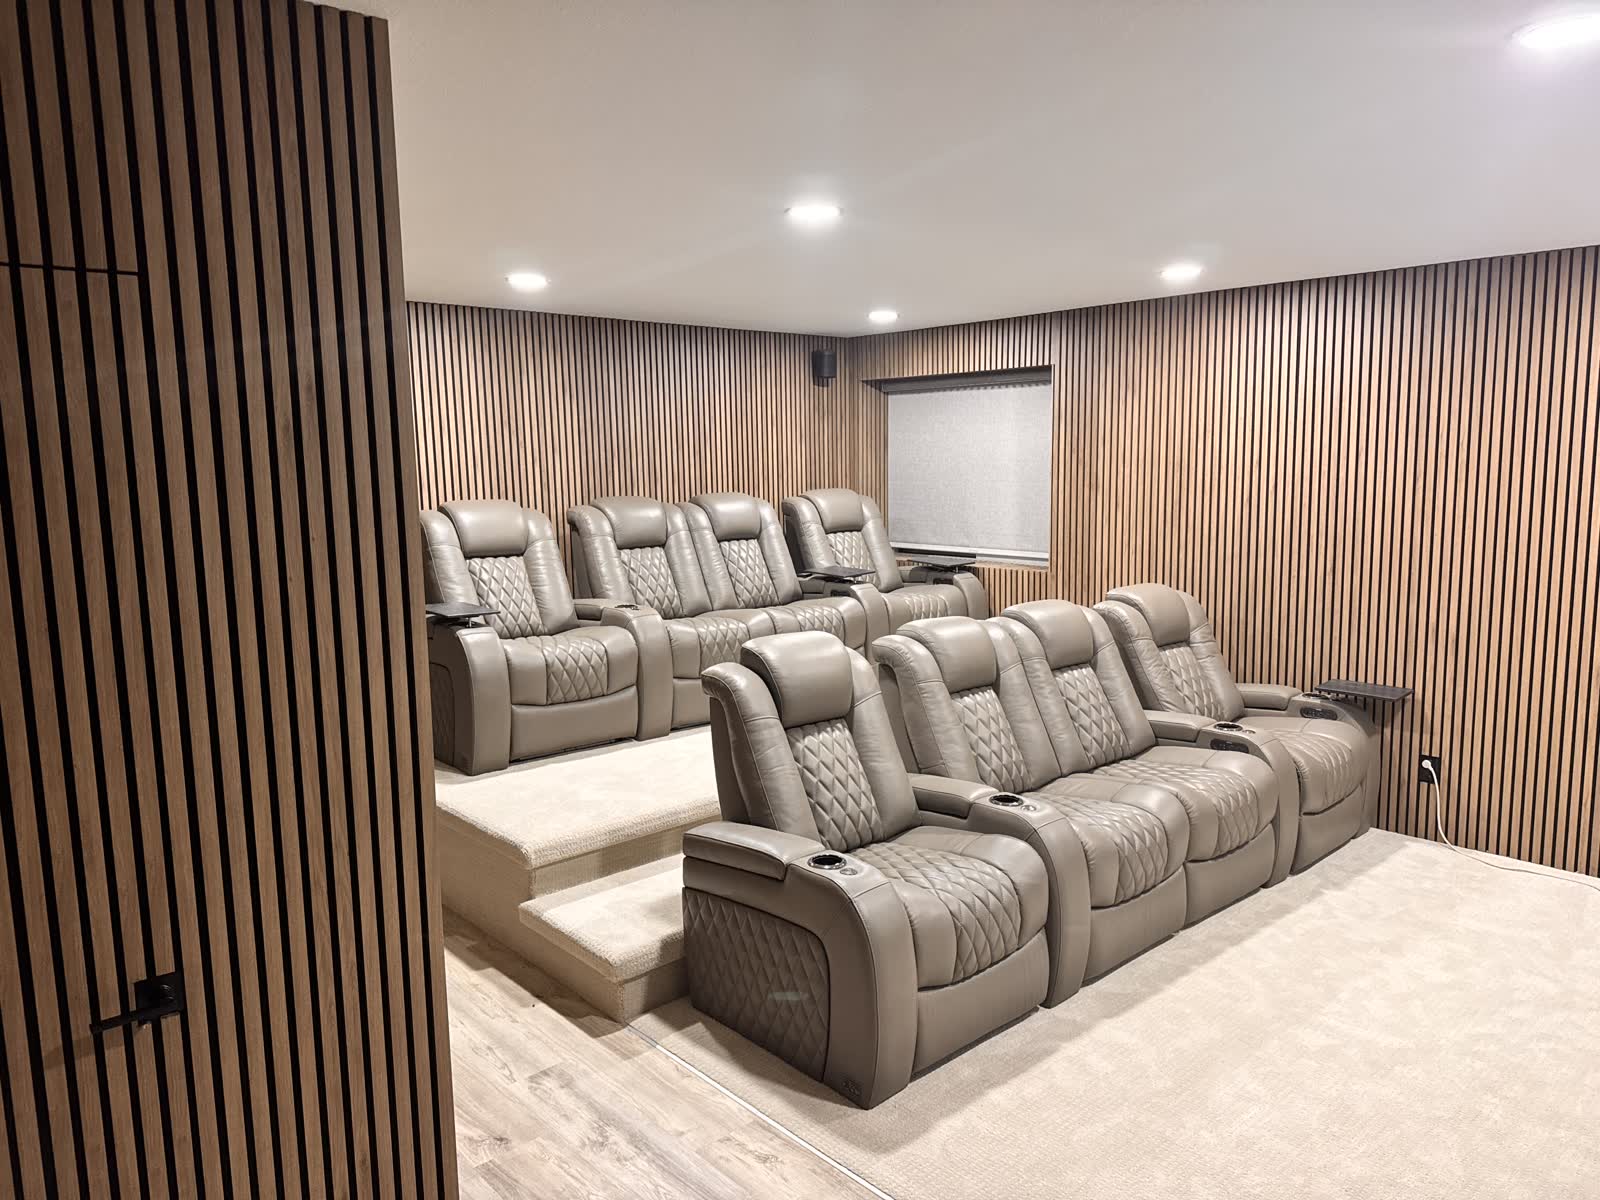
Repeat the process for a fuller wall of panels.
Common questions we hear about acoustic slat panels, plus practical application guidance from real local installs.
Yes. Most installs can go directly over drywall using construction adhesive and the correct fixings through the felt. For best results, confirm wall flatness first and mark layout lines so seams stay consistent across the full run.
Use battens when you want better sound control, need to level an uneven surface, or plan to add insulation behind the panels. Batten installs also make it easier to manage wiring access in certain wall sections.
They do, as long as the panels are secured into joists or a proper structural backing. Ceiling applications should follow the same layout-first approach used for walls so alignment stays clean from the first panel to the last.